
Knowing which Active Matter map to queue into can be the difference between a loaded safe container and an early extraction wipe. This Active Matter map guide walks you through every raid zone currently live in Operation 250 Shades of Liberty, from the ruined streets of Downtown to the floating wreckage inside the Airport gravity anomaly. You will learn how the map rotation works, which zones favor solo runners, and where the densest active matter clusters spawn each reset. The 250 Shades of Liberty update reshuffled the entire Active Matter map list, and many veterans are still re-learning the safest extraction routes through the new Soviet-era locations.
How Active Matter Maps and Rotations Work
Every Active Matter map is a quantum-unstable raid zone, meaning the environment itself is hostile, shifting, and full of AM-transformed creatures. According to the official Active Matter website, players enter solo or in small squads, harvest active matter, kill enemies, loot caches, and fight other syndicates before extracting. The map rotation determines which zones are available during a given window, and knowing that schedule is the foundation of any solid Active Matter map guide.
The current rotation cycle introduces four major raid zones tied to the 250 Shades of Liberty update, with additional legacy zones cycling in afterward. Community testing suggests a roughly 30 to 45 minute cooldown between major map swaps, though smaller modifiers (loot density, weather hazards) refresh more frequently.
Core Map Rotation Rules
-
Active roster limit: 4 to 5 maps are live at any moment, with the rest locked behind timers.
-
Modifier window: Each zone carries a hazard modifier (Unstable Zone, Collapse, Anomaly) that changes every 20 to 30 minutes.
-
Loot tier scaling: Higher-tier loot concentrates in maps with the most recent modifier refresh.
-
Reset timing: Daily reset occurs at 00:00 UTC, after which the entire map list re-shuffles.
| Rotation Element | Frequency | Player Impact |
|---|---|---|
| Map availability | Every 30–45 min | Decides which zones you can queue into |
| Hazard modifier refresh | Every 20–30 min | Changes enemy density and loot tables |
| Loot density spike | Once per 2 hours | Best moment to run high-value zones |
| Daily full reset | 00:00 UTC | All maps and modifiers refresh |
Reading the Map Roster UI
When you open the raid selection screen, color-coded resource icons mark the highest-value loot clusters in each zone. Red icons signal rare loot zones, yellow marks mid-tier caches, and blue identifies safe extract points. The 250 Shades of Liberty patch refined this overlay, so checking it before queuing is now faster than scrolling a wiki page. For a deeper look at how map difficulty and rewards intersect, the Active Matter anomaly locations map breakdown tracks each modifier window in detail.
The Full Active Matter Map List
The current Active Matter map list spans both North American and Soviet-flavored environments, each with distinct layouts, enemy spawns, and loot biases. The 250 Shades of Liberty update added Downtown, Downtown: Unstable Zone, Downtown: Collapse, and the Airport as the four flagship maps, while older Soviet-era zones like the Industrial Complex and Soviet Island remain in rotation on a longer cycle. You can confirm the live roster any time on the official 250 Shades of Liberty news post.
Below is the complete Active Matter map list as of this writing, with biome type and primary loot bias for each entry.
| Map Name | Biome | Loot Bias | Best For |
|---|---|---|---|
| Downtown | Urban ruins | Tech + weapons | Squad play |
| Downtown: Unstable Zone | Urban ruins (hazard) | Rare active matter | Risk runs |
| Downtown: Collapse | Urban ruins (collapse) | High-tier mods | Late-raid loot |
| Airport | Indoor hangar + anomaly | Heavy weaponry | PvP + boss |
| Industrial Complex | Soviet factory | Ammo + armor | Quiet farming |
| Soviet Island | Coastal Soviet base | Mixed resources | Solo learning |
Downtown and Its Variants
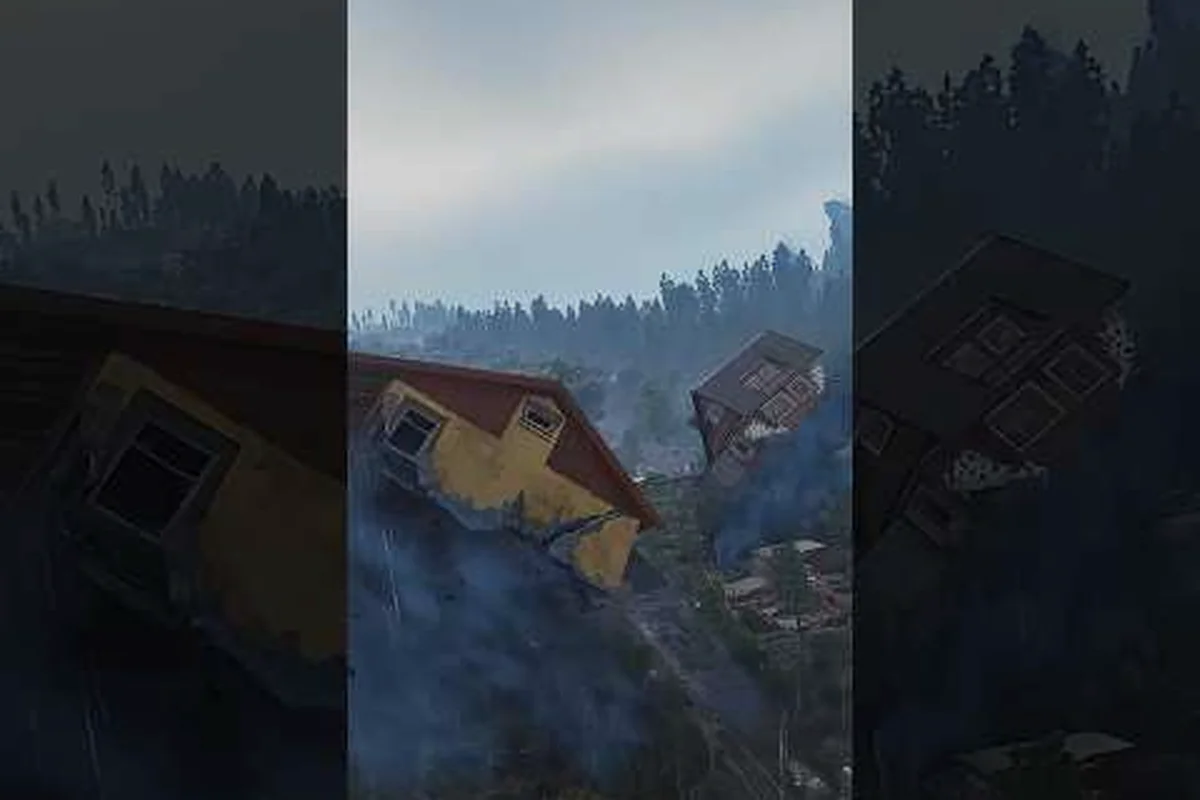
Downtown is the marquee map of the 250 Shades of Liberty update, set in a partially collapsed North American city block. The base version of Downtown favors mid-range combat, with multi-story buildings providing good sightlines and plenty of chokepoints for ambushes. Downtown: Unstable Zone overlays a quantum hazard that periodically warps the layout, opening new shortcuts but spawning additional AM creatures. Downtown: Collapse is the hardest variant, where parts of the map physically fall into the void during the raid, forcing players to relocate or lose their loot entirely.
Airport
The Airport raid is a unique map because of the suspended plane in the gravity anomaly at its center. According to the official update trailer from Active Matter, the anomaly lifts the crashed airliner into mid-air, and players can actually board the floating fuselage for high-tier loot. The Airport blends tight indoor corridors with wide tarmac sections, making it ideal for both CQB loadouts and longer-range engagements.
Active Matter Best Map for Each Playstyle
Picking the Active Matter best map depends on whether you queue solo, run a duo, or roll in with a full squad. Solo players benefit from smaller, more predictable maps with multiple extract options, while squads thrive in larger zones with contested loot rooms. The Soviet Island map is widely considered the Active Matter best map for new solo players, while the Industrial Complex appeals to squads that want consistent, low-PvP farming runs.
The table below matches common playstyles to the map that delivers the best experience based on community data and recent patch notes.
| Playstyle | Best Map | Why It Fits |
|---|---|---|
| Solo beginner | Soviet Island | Predictable spawns, low PvP traffic |
| Solo loot grinder | Industrial Complex | Quiet rotations, dense ammo/armor caches |
| Duo risk runners | Downtown: Unstable Zone | Modifier-based rare loot spikes |
| Squad PvP | Airport | Multiple contested zones, floating plane loot |
| Squad progression | Downtown: Collapse | Highest-tier mods and rare active matter |
Why Soviet Island Works for Solo Players
Soviet Island is a coastal Soviet-era military outpost, with clearly defined entry points, watchtowers, and a single central compound. The map's geometry rewards players who stick to cover and use the coastal cliffs as natural escape routes. Because it is one of the older maps, fewer squads rotate into it, which means solo players can complete a full raid with minimal PvP interference. Veterans often recommend it as the Active Matter best map for farming starter resources.
Why the Industrial Complex Appeals to Loot Farmers
The Industrial Complex is a sprawling Soviet factory zone filled with conveyor belts, control rooms, and underground storage areas. Active matter clusters tend to spawn near the heating vents, while weapon and armor parts are concentrated in the assembly halls. The map rewards methodical players who clear room by room, and it is widely cited as the Active Matter best map for steady, low-risk income. For tips on how to cash out those gains, the Active Matter extract guide covers safe container rules and beacon placement.
Map-Specific Loot Priorities and Hotspots
Each map in the Active Matter map list has a few signature hotspots that consistently drop the best loot. Memorizing these locations, rather than running the map blind, can dramatically improve your average haul. The data below draws from player-reported spawn patterns and may shift slightly with future patches.
| Hotspot | Map | Primary Loot | Risk Level |
|---|---|---|---|
| Floating plane fuselage | Airport | Heavy weapons, rare mods | High |
| Central compound | Soviet Island | Mid-tier ammo, active matter | Low |
| Heating vent cluster | Industrial Complex | Active matter cores | Medium |
| Collapsed theater | Downtown: Collapse | High-tier modifications | High |
| Unstable alley shortcuts | Downtown: Unstable Zone | Rare active matter, tech | Medium |
| Hangar cargo bay | Airport | Weapon parts, attachments | Medium |
Downtown Loot Zones and Office Safes
The Downtown core rewards players who push toward the financial district, where office safes hide high-tier modifications. The Unstable Zone variant shifts those safes every modifier refresh, so rerun routes are mandatory. Collapse adds a unique dynamic because the theater section literally falls during the raid, so players who linger there for the rare mod drop risk losing everything when the floor gives out.
Airport Hotspots
The Airport has three named hotspots: the suspended plane, the cargo bay, and the control tower. The suspended plane is the headline feature, accessible via gravity lifts that activate once the anomaly stabilizes. The cargo bay is the safest of the three, with stacked containers providing cover, while the control tower is a sniper's nest that overlooks nearly the entire tarmac. Pairing Airport runs with a solid weapon is essential, and the Active Matter best LMG breakdown highlights which firearms dominate mid-range fights in this map.
Building the Right Loadout for Each Map
Your loadout should shift based on the map's layout, enemy density, and PvP traffic. Tight indoor maps like the Airport favor compact SMGs and shotguns, while open zones like Soviet Island reward longer-range rifles and optics. The map rotation also influences loadout choice: when a hazard modifier spikes rare loot, players often bring their best gear regardless of risk, while quiet rotation days favor budget kits.
| Map | Recommended Primary | Recommended Secondary | Key Attachment |
|---|---|---|---|
| Downtown | M4A1 or SCAR-L | MP5 | Spectrum Scope 1-4x |
| Downtown: Unstable Zone | SCAR-H or M14 | MAC-11 | TGP-A Suppressor |
| Downtown: Collapse | PKM or M39 EMR | P17-V | C5 Laser Sight |
| Airport | M110A1 or SCAR-H | DP-12 shotgun | Thermal scope |
| Industrial Complex | PKM | RSh-12 | Thermal drone |
| Soviet Island | M4A1 | MP5 | Armor plates + beacon |
Urban and Indoor Loadouts
For Downtown variants and the Airport, prioritize close-to-mid-range weapons with high rate of fire. The M4A1 and MP5 pairing remains a top community pick for the standard Downtown map, while the SCAR-H with a suppressor fits the stealthier Unstable Zone runs. The new weapons added in 250 Shades of Liberty (RSh-12 revolver, MAC-11, P17-V, SCAR-H, M14, M39 EMR, DP-12 shotgun) all have strong niche uses across these indoor maps. If you want a deeper breakdown of how each weapon performs, the Active Matter loadout guide covers attachments, armor, and drone pairings in detail.
Open and Outdoor Loadouts
For Soviet Island and the Industrial Complex, longer-range optics and sustained-fire weapons are more valuable. The PKM light machine gun excels in the Industrial Complex because its magazine size and damage profile match the long sightlines of the factory floor. Pairing a PKM with the Thermal drone introduced in 250 Shades of Liberty gives you both area denial and recon, which is especially useful when the Industrial Complex is contested by rival squads.
Map Rotation Strategy and Timing
Because the map rotation determines which loot, modifiers, and PvP conditions you face, planning your raid queue around the rotation is a major advantage. Players who track the rotation often wait for specific windows where their preferred map has a favorable modifier, rather than queuing blindly. The rotation cadence is roughly 30 to 45 minutes for major swaps, with hazard modifiers refreshing every 20 to 30 minutes inside a given map.
| Time Window | Strategy | Expected Reward |
|---|---|---|
| 0–10 min after rotation | Queue immediately for high-density loot | Above-average |
| 10–25 min | Avoid contested PvP, farm mid-tier | Average |
| 25–40 min | Prep for next rotation, repair gear | Low priority |
| 40+ min | Wait for next map swap | Variable |
Stacking Rotations for Maximum Profit
Veteran players often chain two or three map runs in a single session by queuing the moment a new map unlocks. Because the first 10 minutes of any rotation are the highest-density window for rare loot, stacking short raids back-to-back tends to outperform longer, single-map grinds. Solo players benefit even more from this approach because they avoid the late-raid collapse events in Downtown variants by extracting early.
Avoiding the Wrong Map at the Wrong Time
Running the Industrial Complex during peak hours is a common mistake. The map attracts squad farmers, and solo players who queue into it at peak times often end up in drawn-out PvP engagements. The same applies to the Airport, where the floating plane loot draws every squad on the server during prime time. A smart rotation strategy skips these zones during their peak windows and returns during off-peak hours when the loot is the same but the PvP pressure is lower.
Advanced Map Tips and Common Pitfalls
Even with a solid loadout and rotation plan, small mistakes can wipe a run. Players who rush into the highest-tier loot rooms without scouting usually end up feeding their haul to a waiting squad. Likewise, ignoring the map's hazard modifier often leads to avoidable deaths, especially in the Downtown variants where the environment can collapse or warp at any moment. The tips below summarize community-tested advice for each major map.
| Map | Common Mistake | Better Approach |
|---|---|---|
| Downtown | Rushing the financial district | Clear perimeter first |
| Downtown: Unstable Zone | Ignoring warping shortcuts | Recheck map every 5 min |
| Downtown: Collapse | Lingering in theater | Loot fast, move on |
| Airport | Fighting on the tarmac | Use hangar for cover |
| Industrial Complex | Skipping underground storage | Always check basement |
| Soviet Island | Ignoring watchtower snipers | Approach from cliffs |
Audio Cues and Sound Management
Active Matter maps are dense with audio cues that signal nearby enemies, environmental collapses, and rare loot. Wearing headphones and lowering background music lets you hear the gravity anomaly shift inside the Airport, the rumble of a collapsing floor in Downtown, and the footsteps of rival squads approaching your position. Many experienced players report that audio awareness alone prevents more wipes than any weapon upgrade.
Spawn Timing and First-Minute Decisions
Your first 60 seconds in any map set the tone for the entire run. If you spawn near a contested hotspot, your safest move is often to rotate to a quieter zone and let the early PvP burn itself out. If you spawn near a low-traffic cache, prioritize speed and grab everything you can before other players cross the map. The first-minute decision tree differs slightly per map, but the principle is universal: loot, move, and extract before the map's late-stage events kick in. For a full breakdown of how to plan those extraction decisions, the Active Matter solo guide covers the mindset and routes for runners without a squad.
Frequently Asked Questions
What is the best Active Matter map for solo players?
Soviet Island is widely regarded as the Active Matter best map for solo runners because of its predictable layout, low PvP traffic, and clearly defined extract points. The Industrial Complex is a strong second pick for players who prefer quiet farming runs over combat-heavy raids.
How does the Active Matter map rotation work?
The Active Matter map rotation cycles 4 to 5 zones every 30 to 45 minutes, with hazard modifiers refreshing inside each map every 20 to 30 minutes. The full roster resets at 00:00 UTC daily, after which the entire Active Matter map list re-shuffles and loot density spikes.
Which map has the highest loot density in Active Matter?
Downtown: Collapse and the Airport currently offer the highest loot density, with rare active matter clusters, high-tier modifications, and the suspended plane's heavy weapon cache respectively. Both maps also have the highest PvP pressure, so bring a squad or a strong escape plan.
Are the Soviet maps harder than the new Downtown maps?
The Soviet maps (Soviet Island, Industrial Complex) are mechanically simpler but reward map knowledge over raw reflexes. The Downtown variants introduce environmental hazards like collapsing floors and unstable warps, which makes them mechanically harder even though their layouts are more familiar to most players.
Can I run every Active Matter map in a single session?
Yes, by stacking rotations. The most efficient method is to queue into a freshly rotated map during the first 10 minutes of its window, extract, and immediately re-queue for the next swap. Most veteran players complete three to five map runs per session using this method.