
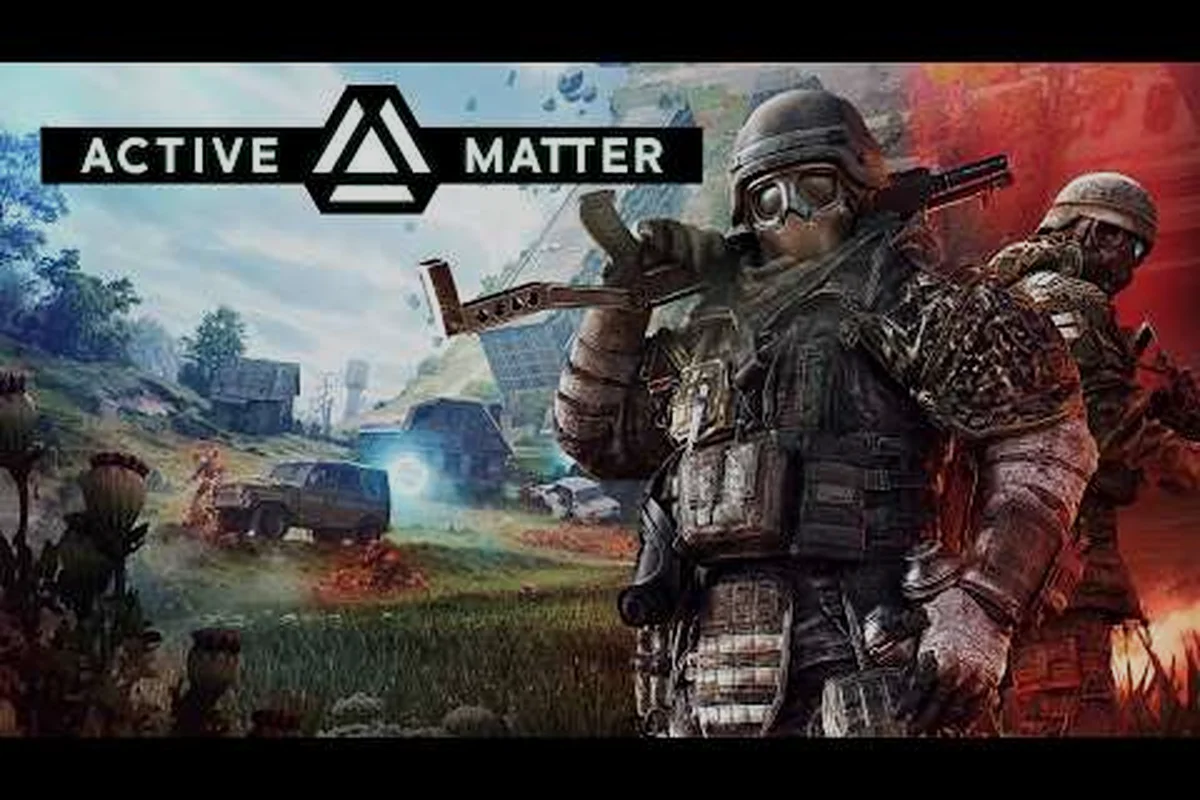
Dropping into Active Matter for the first time feels like waking up mid-mission: the radio is already screaming, the zone is collapsing, and you have no idea which end of the rifle shoots. This Active Matter beginner guide cuts straight to the loop that actually keeps you alive — picking a starter loadout, reading a quantum unstable zone, fighting the right enemies first, and walking out with loot instead of a respawn timer. Every tip below is built for someone who has just installed the Active Matter on Steam client and wants a clean first run, not a wall of jargon.
The Active Matter Raid Loop From Drop to Extract
Active Matter is a realistic PvPvE extraction shooter from Gaijin Network Ltd set in a fractured multiverse. According to the official Active Matter website, you play an operative trapped in a time loop who raids quantum unstable zones for a substance called active matter — the resource that bends time and space itself. The full release is scheduled for 15 Sep 2026 on Windows, Linux, PS5, and Xbox Series X|S, with the Early Access build already live for newcomers to practice in.
The core loop is shorter than most extraction games, and that is by design. You drop in with a loadout, harvest or steal active matter, and extract before the zone ceases to exist. Every decision inside that window — where to land, which crate to open, when to fight and when to hide — decides whether you walk out richer or walk out dead.
How a Quantum Unstable Zone Works
A quantum unstable zone is a time-bucketed map instance that exists for a fixed window, then collapses. While it is alive, physics-breaking anomalies shift cover, rotate loot spawns, and warp creature behavior. According to the official gameplay trailer released at gamescom 2025, the zone's collapse timer is your real opponent — not the AI creatures, not the rival players.
| Phase | Duration (approx.) | What You Should Do |
|---|---|---|
| Drop-in | 0–60 seconds | Land on the edge, not the center; check your HUD for active matter clusters |
| Harvest | 1–8 minutes | Clear AM-transformed creatures near clusters, avoid contested POIs early |
| PvP window | 6–12 minutes | Other players converge on the high-value loot; rotate around them, not through them |
| Collapse | final 60–90 seconds | Stop fighting loot, start fighting for the extract point |
The numbers above come from community testing on the Early Access branch, so exact timing may shift with future patches, but the rhythm stays the same: every quantum unstable zone rewards the same four-act loop of drop-in, harvest, PvP window, and collapse, and tuning your loadout to that loop — fast-mobility kit for the harvest phase, heavy gear for the PvP window, stamina reserves for the final extract — is what separates players who extract with active matter stockpiles from those who collapse with the zone.
Why Active Matter Matters as a Resource
Active matter is not just currency — it is the substance that powers crafting, faction tech, and progression. The official site explains that active matter flows from three sources: it is stripped from AM-transformed creatures you kill, seized from defeated players, or collected straight from the glowing clusters that spawn around the map. That triple source design is why the game rewards aggressive play early but punishes greed late: the longer you stay, the more rivals notice you carrying rare drops.
Picking Your First Loadout
The first hour of Active Matter is decided by the loadout you bring in. The game does not hand you a tutorial loadout — it asks you to build one before each raid, and the wrong choice on day one turns a learning run into a corpse run. Treat loadouts as a kit of three decisions: weapon, gear, and consumables.
Starter Weapon Tier for New Players
You can bring most small arms from your stash on day one, but some are dramatically more forgiving than others. The table below ranks the most common starter weapons by how forgiving they are for a new player, based on community feedback from the Early Access beta.
| Weapon | Type | Best Range | Recoil Control | Beginner Friendliness |
|---|---|---|---|---|
| KR-12 Carbine | Assault Rifle | Medium | High | 9/10 |
| PM-9 SMG | Submachine Gun | Short | Very High | 8/10 |
| SVK DMR | Marksman Rifle | Long | Medium | 6/10 |
| Bulldog Shotgun | Shotgun | Very Short | Low | 7/10 |
| Tactical Knife | Melee | Melee | N/A | 5/10 (stealth only) |
The KR-12 Carbine is the most recommended starter weapon because its recoil pattern is predictable and its 30-round magazine forgives missed bursts. The SVK DMR looks tempting for long-range players, but a single missed shot at long range gives away your position to every player inside a 200-meter cone.
Gear Slots and What to Fill Them With
Your gear decides whether one mistake ends your run or just stings, because every slot in Active Matter feeds directly into your survival window during a closing zone. New players should always prioritize armor plating and a medkit over a flashy backpack, since armor plating absorbs the rifle and SMG chip damage that turns peek-corner fights into instant downs, while a medkit counters the bleedout timer after a close-range trade. The slot you ignore is the slot that kills you, so lock in protective layers before chasing inventory space.
| Slot | Starter Pick | Why It Helps New Players |
|---|---|---|
| Armor | Light Plate Vest | Stops one to two rifle rounds without slowing your sprint |
| Backpack | Small Tactical Pack | Fits one cluster of active matter plus a medkit |
| Helmet | Ballistic Helmet | Protects against headshot one-taps from rival SMGs |
| Boots | Reinforced Boots | Reduces footstep audio radius by ~15%, per community testing |
| Tool | Field Refiner | Lets you convert loot on-site, covered in our Active Matter refiner guide |
Resist the urge to grab a Large Cargo Pack the moment you see it, because that extra inventory slots come bundled with a movement-speed penalty that turns every sprint through a collapsing active matter ring into a coin flip you will lose. Stick with the Small Tactical Pack while you are still learning the zone-collapse timing, finish a few successful extractions to bank credits, and only then test whether your route can afford the heavier backpack — the slowdown is small, but it stacks badly with the leg-shot penalties most SMG users already inflict mid-fight.
Reading Quantum Unstable Zones on Entry
Once your loadout is set, the next decision is where to land. The map screen shows a 2D overview of the quantum unstable zone with colored markers for POIs (Points of Interest), active matter clusters, and rival squad signals. The number one beginner mistake is dropping directly on the highest-value POI because the loot looks good — that is also where every other player drops.
Map Markers Decoded
| Marker Color | Meaning | Beginner Strategy |
|---|---|---|
| Gold star | High-value POI, dense loot | Avoid for your first 5 runs; it is a PvP magnet |
| Blue cluster | Active matter spawn | Land 50–100 meters away, approach on foot |
| Red zone | Anomaly field | Loops loot inside but damages armor; skip until geared |
| White pulse | Rival player signature | Rotate away, not toward; greeding kills new players |
| Green beacon | Friendly squad drop | Move toward it if you are in co-op; see the co-op section below |
Land on the Edge, Not the Center
The "edge drop" rule is the single most repeated piece of advice in the Active Matter community. Land at the map's rim, near a small POI or a single blue cluster, and let the center players fight each other while you quietly gather your first stack. By the time the collapse phase begins, you are already near an extract point, while center players are still arguing over a contested crate.
Surviving Your First AI Fights
Active Matter is not a pure PvP game — the AM-transformed creatures inside a quantum unstable zone will kill you just as dead as a rival operative. Learning which AI enemies to fight and which to avoid is the difference between extracting with loot and respawning with nothing.
AM-Transformed Creature Threat Tier
| Creature | Threat Level | Recommended Action |
|---|---|---|
| Scavenger Drone | Low | Always engage; weak to small-arms fire, drops common loot |
| Rift Hound | Medium | Engage from medium range; closes distance fast in close quarters |
| Anomaly Sentinel | High | Avoid solo; weak point is the glowing core on its back |
| Collapse Wraith | Extreme | Run, do not fight; appears in the final collapse phase only |
The Scavenger Drone is your training dummy. It moves predictably, takes five to seven KR-12 rounds to drop, and drops a small loot box on death. New players should treat the first three minutes of every raid as target practice against Scavenger Drones before ever aiming at a human rival.
Audio Is Your Real Radar
The most underused new-player tool is the audio layer. Active Matter's sound engine surfaces footsteps, gunshots, and anomaly hums in distinct directions, and veteran players rely on it more than their minimap. A few community-tested audio habits:
-
Footstep rule: if you hear two sets of boots and only see one HUD blip, the second player is using a Suppressed weapon — assume they see you and reposition.
-
Anomaly hum: a rising hum means a red zone is about to spawn near you; move 30 meters away before the field opens.
-
Loot chime: the higher the pitch, the rarer the loot — but so is the rival traffic.
Extracting With Your Loot
Extraction is the part of the loop new players forget to plan for, and it is the part that punishes them hardest. The collapse timer does not care how much active matter you are carrying — it ends the zone regardless. Your last 90 seconds inside a quantum unstable zone should be a straight line to the extract point, not a detour for "one more cluster."
Extraction Point Basics
Extraction points appear on your map as pulsing yellow circles during the final phase of the raid. They are not safe zones — rival players can and will camp them, because everyone knows a looted operative is a sitting duck on the approach.
| Extract Type | How to Use It | Risk Level |
|---|---|---|
| Standard Extract | Stand inside the circle for 8 uninterrupted seconds | High if rivals know you are coming |
| Vehicle Extract | Requires a fueled military vehicle in your squad | Medium, but uses fuel as a sunk cost |
| Syndie Extract | Unlocked via syndicate progression, see the base upgrade guide | Low, faction-locked |
| Emergency Beacon | One-time use, drops a helicopter even outside a circle | Very High, loud and slow |
For your first five runs, stick to the Standard Extract and always approach from hard cover rather than crossing open ground. Those mandatory 8 seconds standing still inside the pulse circle leave you completely stationary, so even a single rival sniper perched on a ridgeline can land a headshot before you finish the extraction timer.
What to Do If You Get Knocked Down
The knockdown state in Active Matter is not the end of the run. You can crawl to cover, self-revive with a medkit, or call for a squad revive. New players often panic-respawn the moment they take a hit, which throws away the medkit slot and the loot. The community-recommended priority is:
-
Crawl to the nearest piece of hard cover (a wall, a crate, a vehicle).
-
Bandage with a field medkit if your squad is not within revive range.
-
Self-revive only if the zone collapse is more than 60 seconds away — otherwise extract your squad's loot and respawn clean.
Playing Co-Op and Solo Runs
Active Matter officially supports both solo and small-squad play, and the right mode for you depends on your experience and your risk tolerance. According to the official site, players can go solo or in squads inside the quantum unstable zones, which means the game is balanced for both but rewards them differently.
Solo vs. Squad Tradeoffs
| Mode | Loot Share | Risk | Best For |
|---|---|---|---|
| Solo | 100% to you | Highest — no revives, no shared aggro | Experienced players farming efficiently |
| Duo | 50% split | Medium — one revive per player | New players learning PvP with a friend |
| Squad (3-4) | 25–33% split | Lowest per-player, but louder fights | Boss fights, syndicate missions |
New players should run Duos for their first 10 raids. You keep enough loot to feel progression, but a single squadmate can revive you when the AI gets a cheap hit in. Full squads are louder on the map — four gunshots attract four times the rival attention — so they are best reserved for high-tier content like boss fights and syndicate raids.
For setting up crossplay and Steam friend invites, the Gaijin store and co-op guide walks through the exact steps on PC, PS5, and Xbox, including how to link your Gaijin account, redeem cross-platform keys, and invite console friends into a PC-hosted Duo or Squad lobby. Note that crossplay matchmaking pulls from a unified active matter pool across all platforms, so a Duos queue on PS5 can match against a PC squad, making voice chat and the 50% loot split table above especially relevant when squadmates are mixed-platform. The guide also covers the common "friend invite not showing" error and how to re-sync your friend list after a Gaijin client update.
Frequently Asked Questions
What is the best starter weapon in Active Matter for a new player?
The KR-12 Carbine is the most beginner-friendly weapon because its recoil is predictable, its 30-round magazine forgives missed bursts, and it performs well at the medium range where most early fights happen. Pair it with a Light Plate Vest and a Field Medkit for a forgiving first loadout that still leaves room for one backpack slot of active matter.
How long does a typical raid in Active Matter last?
A single quantum unstable zone raid runs roughly 10 to 15 minutes from drop-in to collapse, with the final 60 to 90 seconds reserved for the extraction scramble. The exact timer varies by zone tier and patch, but the rhythm stays the same: land on the edge, farm the first half, fight or flee in the second half, and extract before the collapse.
Can I play Active Matter solo, or do I need a squad?
You can play fully solo, and the game is balanced for it, but you will face higher per-run risk because there are no squad revives and no shared aggro. For new players, Duos is the recommended middle ground — you keep enough loot to feel progression, but a partner can cover a downed revive when an AM-transformed creature lands a cheap hit.
Where do I find active matter clusters on the map?
Active matter clusters show up on your map screen as blue markers, with a brighter tint indicating a higher density. New players should land 50 to 100 meters away from a blue cluster, approach on foot, and clear the AM-transformed creatures guarding it before harvesting — rushing the cluster directly is the most common way to get ambushed by a rival player who watched you drop.
Do I lose all my loot if I die before extracting?
Yes, except for items stored in your stash before the raid began. Anything you pick up inside the quantum unstable zone — active matter, weapons, gear, consumables — stays behind on death or extraction failure. This is why experienced players always move their high-value loot to the stash between raids, and why a safe first extract is more important than a greedy last fight.