
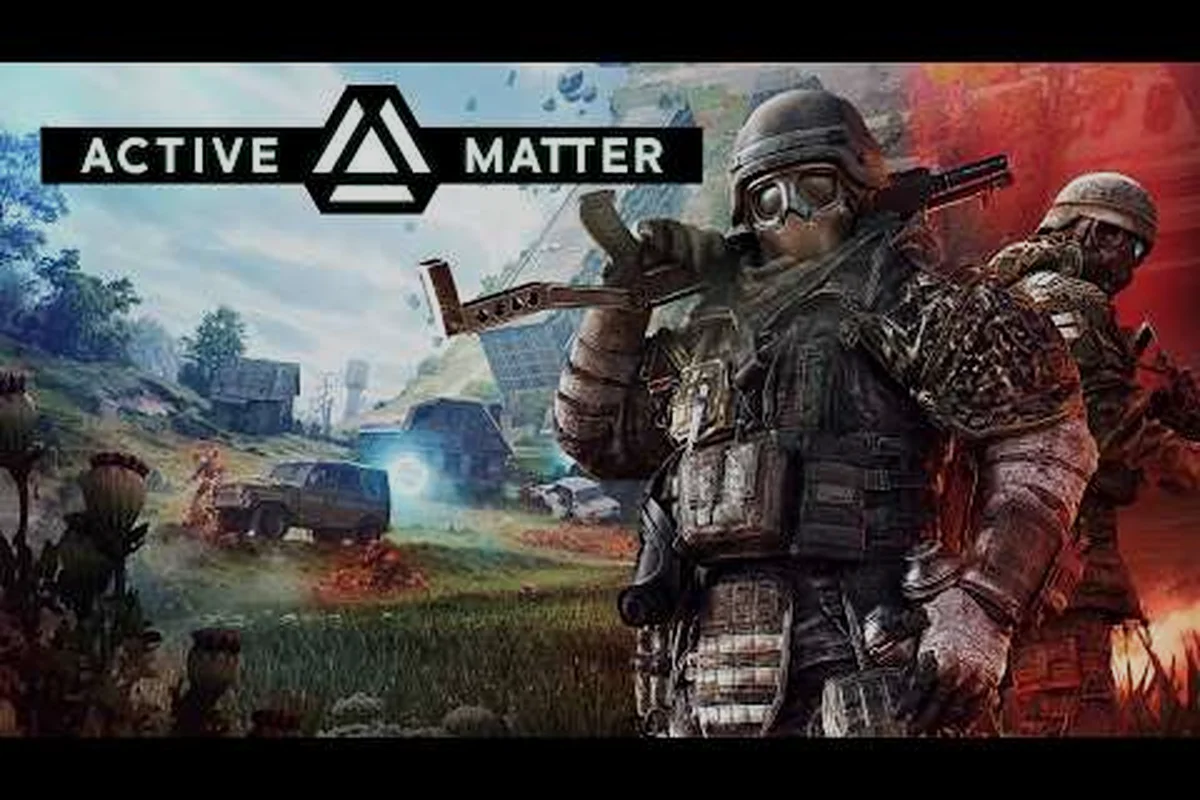
If you're stepping into Active Matter for the first time in 2026, the smartest move you can make on day one is treating every supply drop like a chess piece, not a shopping list. Between the brand-new Downtown raid zones, seven fresh firearms, and a learning curve that punishes reckless looting, having a focused Active Matter beginner tips 2026 plan saves you hours of trial-and-error in the quantum unstable zones. This walkthrough distills the most useful patterns new operators can apply the moment they spawn in, so you spend less time wondering what is active matter and more time actually extracting with it.
Day One Loadout: Picking Weapons and Gear That Won't Get You Killed
Your first hour in Active Matter is the most dangerous one. The default stash feels generous, but it tempts new players into running a wide-and-loose build that collapses the first time a hostile squad pushes the same corridor. Treat the pre-raid lobby as a budgeting exercise, not a wishlist. Pick one primary weapon family you actually understand, one melee tool for emergencies, and one consumable slot dedicated to healing. Anything else is dead weight you cannot afford to drag through a Downtown: Collapse firefight.
The 250 Shades of Liberty patch (officially called Operation 250 Shades of Liberty) expanded the new-player arsenal with several approachable picks. The P17-V sidearm is forgiving at close range, the SCAR-H provides a stable mid-range option, and the MAC-11 is a budget SMG that chews through ammunition in a hurry. Each has a niche, and choosing between them is the first real decision your build will make.
Starter Weapon Tier Snapshot
| Weapon | Best Range | Ammo Hunger | Beginner Friendliness | Why Pick It |
|---|---|---|---|---|
| P17-V | 0-15 m | Low | ★★★★★ | Cheap, controllable, ideal first sidearm |
| MAC-11 | 0-20 m | Very High | ★★★★ | Strong entry-level SMG, bring extra mags |
| SCAR-H | 20-60 m | Medium | ★★★★ | Best beginner mid-range rifle after the update |
| M14 | 30-80 m | Medium | ★★★ | Higher skill ceiling, rewarding once trained |
| RSh-12 | 5-25 m | High | ★★★ | New revolver with chunky damage, slow reload |
| M39 EMR | 50-100 m | Low | ★★★ | DMR pick, but scope practice required |
| DP-12 | 5-30 m | High | ★★ | Shotgun with stamina-heavy reload, save for vets |
If you are working through the active matter beginner guide, treat the P17-V plus a SCAR-H combo as the default loadout until you have at least ten raids under your belt. Pair that with a Crowbar or Baseball bat for melee finishers, and a single stack of bandages to cover the first few minutes after a firefight.
Must-Have Gear for First Raids
Two new utility items from the 250 Shades of Liberty update changed how new players should approach their first extraction:
-
Kamikaze drone — A high-risk, high-reward scout that can scout rooms and blow up tightly grouped enemies. Use it on patrols, never on player-held positions, because experienced operators will bait it and destroy you through the wreckage.
-
Thermal drone — The safer, information-gathering option. It spots heat signatures through walls at short range, which makes it invaluable when you're learning how to read a contested corridor.
Both drones occupy a single gear slot, so choose the one that matches your squad's role. A solo beginner should default to the Thermal drone; a duo or trio should pack the Kamikaze drone only when the rest of the team is already equipped with optics and scopes.
A reliable optics choice for the same loadout slot is the Spectrum Scope 1-4x, a new modification that ships with the 250 Shades of Liberty patch. It bridges the gap between close-quarters red dots and long-range sniper optics, so it pairs naturally with the SCAR-H or M14 when you need to read targets at 60-80 meters. If you prefer to keep your iron sights clean, slot the TGP-A Suppressor instead, which keeps the muzzle report short and helps you avoid the third-party squads that swarm every Downtown extraction.
What Is Active Matter and How Does Extraction Actually Work?
Before you start chasing loot, you need a clean mental model of what is active matter and why everyone in the quantum unstable zones is fighting over it. Active matter is a fictional substance that bends time and space, and the gameplay loop revolves around harvesting, controlling, and shipping it out of the multiverse. The reason it matters to new players is that active matter clusters are the single most efficient loot source in the game, and the reason it matters to everyone else is the same.
According to the official Active Matter site, players can harvest active matter by killing AM-transformed creatures, take it directly from other operators, or pick it up from glowing clusters scattered around each raid zone. That three-path economy is what makes every raid a PvPvE event, even when you are technically running solo: the moment you load an active matter cluster into your pack, you become someone else's loot.
The Three Sources of Active Matter
| Source | Risk Level | Best Loot Density | Beginner Strategy |
|---|---|---|---|
| AM-transformed creatures | Medium | High | Clear patrols before grabbing clusters to avoid ambushes |
| Other players | High | Variable | Only contest squads you outnumber or outgear |
| Active matter clusters | Low-Medium | Highest | Time your grabs to safe windows, not greed |
The take-home lesson is straightforward. AM-transformed creatures are the most predictable source, and they tend to cluster around the same points on each map, so you can plan a route. Clusters are the highest-density source, but the moment you kneel to extract them you become a sitting duck. Killing another operator is the most skill-dependent source, and it is the reason you should never run a raid without a plan to disengage.
The 250 Shades of Liberty update added a new layer to that economy: rare loot zones. Per the official news post, rare loot zones are now marked with color-coded resource icons and monster cluster indicators, which means a brand-new player can read the map at a glance. The rule of thumb is simple — colored icons tell you where the highest-value active matter is, and the cluster markers tell you where the most dangerous AM-transformed creatures spawn nearby. Both signals matter, and ignoring either one is how new operators lose their first three extractions in a row.
First Raid Plan: How to Clear a Downtown Mission Without Losing Everything
Once you understand the economy, you can start planning actual runs. The new Downtown raid zone family is the obvious place to start because it is the centerpiece of the 250 Shades of Liberty update and the developer hand-tuned the difficulty to onboard fresh players. There are three sub-zones you need to know: Downtown, Downtown: Unstable Zone, and Downtown: Collapse. Each one ramps the pressure in a specific way, and treating them as a difficulty curve rather than a checklist keeps you alive.
Downtown is the entry point. It contains the most active matter clusters per square meter and the most predictable patrols. The map layout rewards a slow, route-based approach, and the loot density is high enough that you can complete a full extraction in 8-12 minutes if you do not chase every gunfight. Most new players finish their first successful run in this zone, and most of their second raid also happens here because the upgrade temptation is real.
Downtown: Unstable Zone is where the new mechanics start to bite. The unstable quantum effects damage your health, scramble your optics, and occasionally spawn AM-transformed creatures mid-firefight. If you plan to use a scope like the Spectrum Scope 1-4x here, budget extra downtime for the visual artifacts. Players report that staying mobile and closing to inside-15-meter range is more reliable than trying to snipe through the haze.
Downtown: Collapse is the final boss of the new content. Building infrastructure gives way to collapsed floors and exposed vertical sightlines, which means grenades, drones, and shotguns become disproportionately strong. A defensive loadout built around the DP-12 and Thermal drone is the most forgiving setup here, because the close-range engagements favor whoever shoots first.
Recommended First-Run Route
| Step | Action | Estimated Time | Risk Window |
|---|---|---|---|
| 1 | Spawn, gear up, mark extraction timer | 2 min | Low |
| 2 | Clear 2 AM creature patrols near spawn | 3 min | Low-Medium |
| 3 | Hit the first cluster icon, then reposition | 2 min | Medium |
| 4 | Use Thermal drone to scout contested corridor | 1 min | Medium |
| 5 | Extract at the second marker | 2 min | High |
Notice that the extraction step is the highest-risk window. Every active matter run follows this pattern, and the players who consistently extract successfully are the ones who treat the last 90 seconds of a raid as a defensive operation, not an offensive one. If you have been struggling with the final stretch, the answer is rarely a better weapon — it is a better exit plan.
Co-op vs Solo: Picking the Right Squad Format for Your First Week
The decision between running solo and running with a small squad is the single biggest determinant of how fast you will progress in your first week. Active Matter explicitly supports both styles, and the Active Matter Steam page describes the game as a PvPvE extraction experience where operators drop in alone or with a small fireteam into the quantum unstable zones. That is a deliberate design choice, and the way you use it shapes your entire early-game experience.
A solo run gives you full loot rights, no comms overhead, and the ability to disengage at any time. The downside is that you take every fight at a numerical disadvantage, and the learning curve is steep because mistakes are punished without teammates to cover them. A solo operator should default to passive routes, prioritize active matter clusters over player kills, and only take PvP engagements when the opponent is already engaged with an AM-transformed creature.
A small squad run (2-3 operators) gives you shared loot insurance, faster clears, and access to more ambitious loadouts. The downside is that every squad member has to follow the same plan, and one reckless teammate can cost the whole team their extraction. A squad that wants to win consistently should agree on three rules before the raid starts: who carries the active matter, who plays overwatch, and when the squad extracts no matter what.
Team Size Comparison Table
| Dimension | Solo | 2-Player Squad | 3-Player Squad |
|---|---|---|---|
| Loot share | 100% | ~50% | ~33% |
| Engagement risk | High | Medium | Lower |
| Map control | Limited | Strong | Dominant |
| Coordination cost | None | Medium | High |
| Best early-game role | Loot-focused | Loot + overwatch | Aggressive clear |
The sweet spot for most beginners is a duo, because it balances loot share and survivability without the coordination overhead of a three-person squad. If you are looking for a deeper breakdown of how to play without teammates, the active matter solo guide covers the most common solo mistakes and how to recover when your raid goes sideways.
When you finally want to graduate to contested gunfights, drop into a duo or trio queue and treat the first three raids as pure training. Pick fights you cannot lose, and let a more confident teammate take the lead while you practice the new weapon mods and drones. By the time you have ten co-op raids under your belt, you will have a much clearer sense of whether you prefer the quiet, high-loot solo life or the louder, faster co-op life.
Surviving 2026 Meta Threats: AM-Transformed Creatures, Syndicates, and the New Downtown Raids
Once you have the basics down, the rest of your first week is about handling the three pressure systems that define the current 2026 meta. The first is AM-transformed creatures, the second is hostile players organized into syndicates, and the third is the new Downtown raid ecosystem, which is the most heavily contested ground in the game right now.
AM-transformed creatures come in three behavioral archetypes: close-range swarms, ranged spitters, and the new heavy hitters that appeared in the 250 Shades of Liberty update. Each one has a counter, and a player who knows those counters can solo a creature patrol without burning half their healing. Swarms go down to sustained fire from any SMG, spitters hate the Crowbar or Police Flashlight rush because their ranged attack has a long wind-up, and the heavy hitters demand focused fire with the SCAR-H or a sustained magazine dump from the MAC-11.
Syndicates are the real long-term threat. Syndicates fight over control of passive active matter sources and AM-based tech, and the developer confirmed that this is a deliberate PvPvE design pillar. If you want to learn how to join or counter the largest syndicates, the active matter PvP guide maps out the current faction map and explains which zones are worth contesting and which ones are suicide.
2026 Threat Tier List
| Threat | Frequency | Solo Counter | Squad Counter |
|---|---|---|---|
| AM swarm | Very High | MAC-11 sustained fire | Focus fire from one player |
| AM spitter | High | Close-range melee rush | Flash + focused damage |
| AM heavy hitter | Medium | SCAR-H burst to chest | Coordinated burst + grenades |
| Syndicates (3+) | High | Avoid, extract early | Contest control points |
| Snipers at long range | Medium | Thermal drone + smokes | Flank with one player |
The third pressure is the new Downtown raid ecosystem, which includes an Airport sub-zone featuring a plane suspended in a gravity anomaly. That map is the most visually striking piece of content in the 250 Shades of Liberty update, but it is also the most camped. The reliable way to clear it is to treat the plane as a visual landmark, not a loot pin, and use the surrounding corridors for active matter cluster runs. A squad that tries to hold the plane itself will lose the fight 8 times out of 10, while a squad that rotates around it can extract three raids in a row.
For a deeper look at how to win the gunfights that decide contested extractions, the active matter aim guide covers recoil control, target acquisition speed, and how to hold map control when two squads are pushing the same point. It pairs naturally with the gear choices from the first section of this active matter tutorial, especially the new scope and suppressor options that just shipped with the latest patch.
Frequently Asked Questions
What is active matter in the game's story?
Active matter is the in-universe substance that bends time and space, and it is the central resource that every faction in the multiverse is trying to control. It can be harvested from glowing clusters, dropped by AM-transformed creatures, or taken directly from other operators during a raid. According to the official site, the entire extraction gameplay loop is built around the race to ship active matter out of the quantum unstable zones.
Which starter weapon should a new player pick in the 2026 patch?
The P17-V is the most beginner-friendly sidearm because it has low recoil, cheap ammo, and a forgiving damage profile at close range. Pair it with a SCAR-H for mid-range fights and a melee tool like the Crowbar for finishing moves, and you have a loadout that works in all four new raid zones.
Is the 250 Shades of Liberty update worth playing as a beginner?
Yes. Operation 250 Shades of Liberty adds four new raid zones, seven new firearms, two new drones, and rare loot markers that make the maps much easier to read. For new players, the color-coded resource icons and monster cluster indicators are the biggest quality-of-life improvement, because they turn the early-game guessing game into a clear route-planning exercise.
Can I play co-op with friends, and how many players per squad?
Active Matter supports solo, 2-player, and 3-player squads. The active matter co op guide approach is to start with a duo because the loot share and coordination cost are both reasonable, then graduate to a trio once your squad has run 10-15 successful extractions together. The Steam page confirms the multi-platform launch includes Windows, Linux, PS5, and Xbox Series X|S.
Where can I find the official 2026 gameplay trailer for the new update?
The official 2026 trailer is hosted on the Active Matter YouTube channel and showcases the new Downtown raid zones, the 250 Shades of Liberty firearms, and the gravity anomaly at the Airport. It is a useful visual reference for any operator planning their first run, and it pairs well with the active matter walkthrough approach outlined in the day one loadout section above.