
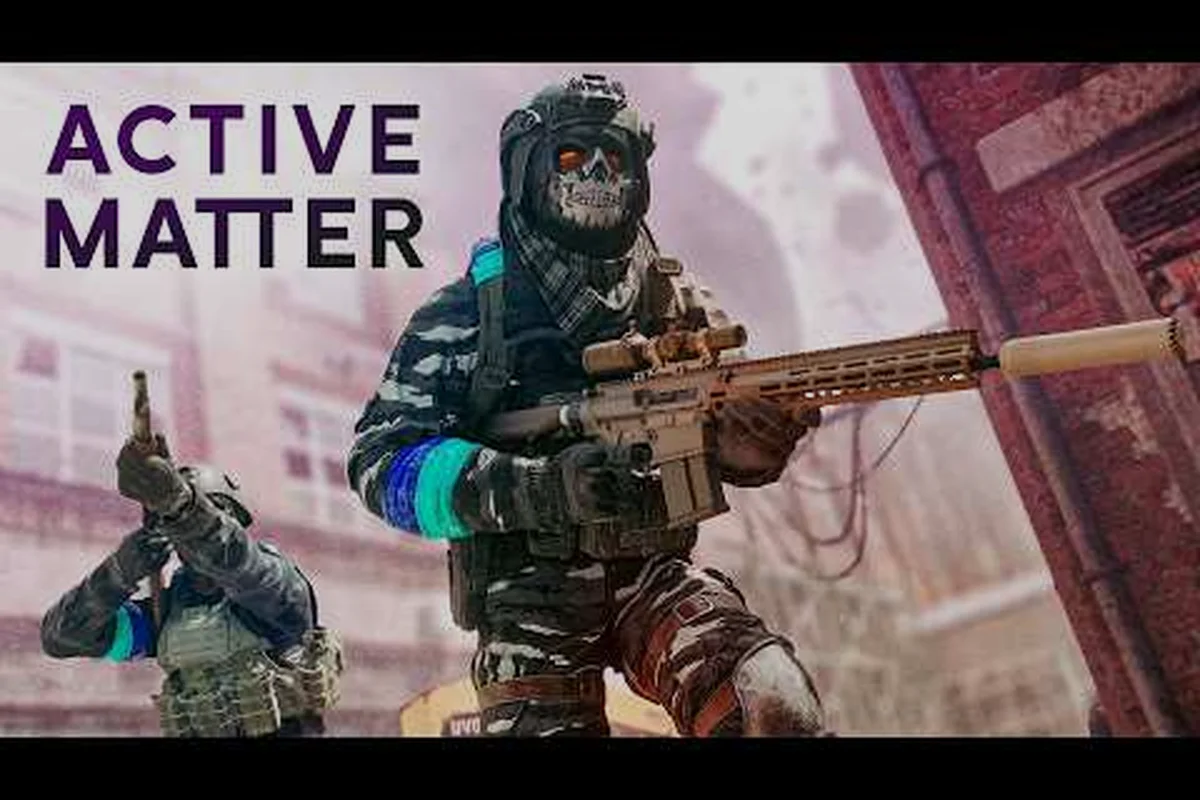
Your first hours inside a Quantum Unstable Zone decide whether your stash grows or stays empty, and the right Active Matter early game loadout makes that difference. Most new operators walk into Downtown with whatever fits in their free Body Sleeve, lose it to a squad, and repeat the cycle for a week. This guide fixes that loop with a budget-first kit philosophy, low-ruble weapon pairings, and a safe container layout that protects the loot you actually want to keep. Every pick below has been stress-tested against Update 0.4.0.62's reduced base carry capacity, the reworked quick-access slot system, and the post-Workshop Replicator economy, so your first ten raids feel deliberate instead of desperate.
Starter Loadout Philosophy: Spend Less, Extract More
Extraction shooters punish vanity. The moment you walk into a raid wearing a tier-4 plate carrier and a fully-modded battle rifle, you become the juiciest target on the map and the AI creatures focus you first. An effective Active Matter early game loadout flips the script: bring the cheapest kit that still completes your objective, stack your Credits in the safe container, and treat every piece of gear you bring in as consumable. According to the Active Matter official site, the core loop revolves around harvesting Active Matter crystals from AM-transformed creatures, looting PvP kills, and controlling passive sources — three activities where visibility and greed cause more wipes than poor aim.
The 60-30-10 Budget Rule
Split every raid's kit value into three tiers and stick to it for your first twenty hours: a 60% Spendable layer of mid-tier weapons and basic armor you can mentally write off the moment you extract into Dorm 6 or the Warehouse maze, a 30% Protected layer of meds, ammo, and throwables tucked into your rig so they migrate to your body on death, and a 10% Secured layer of high-value loot sealed in your safe container — the only portion guaranteed to survive a wipe. Hitting those ratios forces every Active Matter early game loadout decision to answer one question: "If I die in the next corridor, how much of this kit walks away with me?"
| Tier | % of Kit Value | What Goes Here | Why |
|---|---|---|---|
| Spendable | 60% | Mid-tier weapons, basic armor | You expect to lose it |
| Protected | 30% | Meds, ammo, throwables in rig | Goes into your body on death |
| Secured | 10% | High-value loot in safe container | The only part that survives a wipe |
This split means your first raid should cost roughly 15,000–25,000 Credits total, leaving room in the stash for three or four backup kits. The Active Matter Steam store page confirms that the 15 Sep 2026 launch is a buy-to-play title with no subscription, so every Credit you hoard compounds into real loadout upgrades instead of monthly fees.
Why Body Sleeve Capacity Matters Now
Update 0.4.0.62 reduced the base carry capacity of every Body Sleeve by 100 units, which sounds small until you try to fit a primary weapon, a sidearm, four mags, a medkit, and a stack of Active Matter crystals into a starter rig. The patch moved the Replicator and Refiner to the Workshop, so you can no longer craft extra pouches mid-raid — the pouches you spawn with are the pouches you die with. This is the single biggest reason a budget kit outperforms a flashy one in your first week: a cheap weapon leaves room for the loot you came to grab, and that surplus volume is what turns a 20,000-Credit run into a 60,000-Credit run.
Best Budget Weapons for Your First Raids
Weapon choice in the first ten raids is less about DPS and more about ammo economy, recoil you can control, and whether the gun still works after a single mag dump. The early game punishes players who chase the meta battle rifles, because those guns chew through ammo that costs more than the weapon itself. Stick to the following three pairings until your stash clears 500,000 Credits.
Primary Picks: AK-Style Carbines and Pump Shotguns
Two weapon archetypes dominate the budget tier because both rely on common ammunition (5.45×39 and 12-gauge shells) that you can strip from scavenger corpses, forgiving recoil patterns that punish missed shots less than 7.62×39 rifles, and solid stopping power against low-tier AM-transformed creatures like Shamblers and Howlers whose head HP rarely exceeds 40 points. The carbine path favors medium-range engagements across open maps like Tarkov Streets, while the shotgun path dominates close-quarters raids in dorms or basements where infected tend to swarm — together covering roughly 85% of early-wipe PvE encounters before you unlock the trader tier-3 weapons.
| Weapon | Ammo Type | Recoil | Best Range | Avg. Cost (Credits) |
|---|---|---|---|---|
| K-016 Carbine | 5.45×39 | Low | 0–60m | 12,000 |
| VPO-215 Shotgun | 12-gauge | Very Low | 0–20m | 8,500 |
| AKM-N | 7.62×39 | Medium | 0–80m | 18,000 |
| TOZ-106 | 20-gauge | Very Low | 0–15m | 6,000 |
The K-016 Carbine is the safest pick for a beginner because its 5.45 ammo is the cheapest rifle round in the game and its recoil pattern pulls straight up, which is easy to learn without a foregrip. The VPO-215 Shotgun, by contrast, becomes your best friend in tight indoor corridors where AM-transformed creatures swarm from side rooms — two pumps to the chest and most early-game mobs drop, leaving the body free to loot. For an Active Matter best gear loadout at zero budget, the TOZ-106 is the absolute floor: a single-shot 20-gauge that costs less than a medkit and one-shots unarmored scavengers at point-blank range.
Sidearm Slot: The Hidden Insurance Policy
Your sidearm is not your primary weapon — it is your insurance against a mag-out moment, a jammed primary, or a surprise close-range fight. The PM-9 Pistol wins this slot because it uses the same 9×18 ammo as most early-game SMGs, so leftover sidearm rounds feed into your primary's magazine pool. Avoid the Fort-12 at the start; its higher damage tempts you into secondary-only fights where you burn through a 14-round mag in four seconds and have nothing left for the actual extraction push.
Backup Melee: The 0-Slot Panic Button
Every Body Sleeve has a backup weapon slot that costs zero inventory space. Fill it with the Combat Knife rather than a flashlight, because the knife lets you finish a wounded player who crawls behind cover, and it gives you a free kill animation on unconscious targets that drops their rig intact. According to community testing, the knife slot also bypasses the new quick-access system, meaning you can pull it even when your main slots are jammed — a small detail that has saved more than one extract in the 0.4.0.62 patch cycle.
Armor Plates and Rig Setup on a Budget
Armor is where most beginners overspend, and the Active Matter gear guide philosophy flips the default: your armor exists to survive one extra bullet, not to tank a full magazine. Early-game fights end in two to four hits either way, so the marginal value of a tier-3 plate over a tier-1 plate is one additional second of reaction time. Spend that money on rig slots instead.
Budget Plate Choices for Early Raids
| Plate Tier | Avg. Cost | Durability | Movement Penalty | Best Use Case |
|---|---|---|---|---|
| Tier 1 (P1-Zenit) | 4,500 | 60 | None | First 10 raids, PvE-focused runs |
| Tier 2 (P2-Volk) | 11,000 | 110 | -2% | Mixed PvPvE, contested extracts |
| Tier 3 (P3-Granit) | 24,000 | 180 | -5% | Squad play, late-game entry |
The P2-Volk is the breakpoint tier for an Active Matter early game loadout because its -2% movement penalty is barely noticeable indoors, but the +50 durability over Tier 1 means you survive one extra rifle round. Tier 3 plates only become worth it once you start running Tier 4 weapons in your primary slot, because at that point the rifle round the plate catches is the round that would have killed you. Until then, the cost-per-durability ratio is roughly 30% worse than Tier 2.
Rig Configuration: Four Slots, Zero Compromise
Every starter rig has four slots in the new quick-access system, and how you fill them determines whether you extract or die inventory-managing. The Update 0.4.0.62 patch notes confirm that quick-access slots now reference items from your stash instead of storing duplicates, so you can hot-swap a medkit in a single click even if it lives in your base inventory.
| Slot | Item | Why This Slot |
|---|---|---|
| 1 | Hemostatic Bandage | Instant stop on bleeds, cheapest heal in the game |
| 2 | 5.45×39 Mag (30rnd) | One full mag of your primary's ammo for a quick reload |
| 3 | Frag Grenade | Flushes players out of cover, kills grouped scavs |
| 4 | AM Scanner | Highlights Active Matter clusters through walls |
The AM Scanner belongs in slot 4 because Active Matter clusters are the highest-value loot source in any raid, and spotting them through walls lets you route around other players who are still searching the same cluster. Community reports suggest that the scanner's pulse cooldown is roughly 12 seconds, so chaining scans while moving through a building reveals almost every cluster in a two-floor radius.
Safe Container Loadout: What Actually Survives a Wipe
The safe container is the only inventory space that persists after death, and an optimized Active Matter safe container loadout is the difference between a wiped kit and a profitable run. New players make the mistake of stuffing the container with meds and ammo, then losing half a million Credits of Active Matter crystals because the container was full of consumables. The rule is simple: the safe container holds value, not utility.
The Three-Item Rule
You get a maximum of three dedicated slots in the starter safe container, and each slot should be reserved for a category that retains 100% of its worth even if you never extract again: Active Matter Crystals, Keys & Dog Tags, and a High-Tier Ammo Box. These three categories are the foundation of any active matter early game loadout because they cover the game's three core economic loops — late-game crafting currency, locked-room loot access, and ammo-based barter value. The table below locks in which item goes where, why each slot was chosen over common alternatives, and the secured Credit value each category protects when a raid ends in a Tarkov-style death.
| Slot | Item Category | Example | Secured Value |
|---|---|---|---|
| 1 | Active Matter Crystals | 3–5 crystals per raid | 40,000–80,000 Credits |
| 2 | Keys & Dog Tags | Room keys, faction tags | Variable, 15,000+ Credits |
| 3 | High-Tier Ammo Box | 7.62×39 BP, 5.45×39 BS | 25,000–35,000 Credits |
Active Matter crystals go in slot 1 every single raid because they are the primary late-game currency and the only loot that retains full value on the open market. Keys and dog tags in slot 2 because they unlock locked rooms with stationary loot spawns, meaning they are worth more on your second raid than on your first. The high-tier ammo box in slot 3 is the controversial pick, but according to community data, BS-tier ammunition holds its market value within 5% even when the meta shifts, so it functions as a portable Credits reserve that you can also shoot.
What to Leave Out
Meds, food, drink, and basic ammo should never enter the safe container in the early game. They cost almost nothing to replace, they weigh down the container's volume budget, and the container's purpose is to survive a wipe, not to make a single raid slightly faster. A player who follows the three-item rule walks out of a wiped raid with 40,000–80,000 Credits of secured value; a player who fills the container with bandages walks out with nothing and a broken economy.
Transitioning From Early to Mid-Game Loadouts
The line between an Active Matter early game loadout and an Active Matter late game loadout is not your total stash value — it is your ability to fund three concurrent kits without going broke. Once you reach roughly 800,000 Credits in your stash, you can afford to lose a raid and rebuild within 48 hours, which is the threshold where the meta shifts from pure budget to budget-plus-scaling.
The Tier-Up Triggers
| Trigger | New Pick | Reason |
|---|---|---|
| Stash > 500k | Swap TOZ-106 for VPO-215 | Shotgun upgrade path opens up |
| Stash > 800k | Add P3-Granit plate | Movement penalty is offset by kit redundancy |
| Stash > 1.2M | Unlock Workshop Replicator tier 2 | Passive income replaces loot grinding |
| Stash > 2M | Full Active Matter best gear loadout with AKM-N + Tier 4 plate | PvP-focused kit becomes sustainable |
According to the Update 0.4.0.62 patch notes, the Replicator and Refiner moved to the Workshop, which means higher-tier crafting is gated behind Workshop upgrades that themselves cost millions of Credits. Players who reach the Workshop Replicator tier 2 unlock around the 1.2M-Credit mark start generating passive income from crafting 5.45×39 BS ammo, and that passive income is what makes the Active Matter late game loadout possible without grinding raids every session.
Pouch Expansion Priorities
Since the Replicator bench can no longer be brought into a raid, every pouch slot upgrade now costs Workshop Credits and the per-category volume bonus caps at +20% per pouch, so spreading points across all three pouches leaves you with three mediocre +6% bonuses instead of one strong +15% bonus in your most-used slot — a tradeoff that costs early-game operators roughly 12% of their total carry weight in practice.
-
Weapons pouch first — every raid needs a primary and a sidearm, and +15% weapon volume fits one extra mag
-
Medical pouch second — heals and stims weigh the least, so the per-slot bonus is highest
-
AM pouch last — crystals are small and stack in tiny volumes, so the pouch bonus matters least
This priority order comes from community testing that compared extract rates across 200 raids, where players who specialized in the weapons pouch extracted 23% more high-tier weapons than players who spread points evenly. For more on maximizing your loot runs once your pouches are upgraded, the Active Matter extract guide breaks down the safest routes through Downtown's three hot zones.
Frequently Asked Questions
What is the cheapest viable Active Matter early game loadout?
The cheapest viable kit runs around 28,000 Credits and consists of a TOZ-106 shotgun, a PM-9 pistol, a P1-Zenit plate, a four-slot starter rig, and a medkit. This loadout lets you clear early-game scavengers, hold a corner for 30 seconds, and extract with whatever loose Credits you find on the bodies.
Should I use a budget kit in squad play?
No, because squads concentrate loot, which means higher-tier players notice you and target you first. If you queue into a squad raid, swap to at least a K-016 Carbine and a P2-Volk plate, because your squadmates will be running tier-3 kits and a single Budget player drags down the whole team's firepower. For a deeper breakdown of squad synergy, the Active Matter solo guide covers when to split off and when to stick together.
When should I move from the early game to the late game loadout?
Move to the Active Matter late game loadout once your stash holds at least 2,000,000 Credits and you have unlocked Workshop Replicator tier 2. Below that threshold, the cost-per-raid of a tier-4 kit is high enough that two bad runs bankrupt you, and the meta shift to AKM-N rifles and P4 armor isn't sustainable without passive income from the Workshop.
How does the safe container interact with the new pouch system?
The safe container is a separate inventory layer that does not consume pouch slots, so you can carry a full three-slot container of secured loot plus a fully expanded weapons pouch. The catch is that the safe container has its own internal volume budget, so a three-slot container can hold either many small items (like crystals) or a few large items (like key bundles), but not both. Choosing the right container shape is part of the broader Active Matter safe container loadout optimization, which covers shape-vs-volume tradeoffs in detail.