
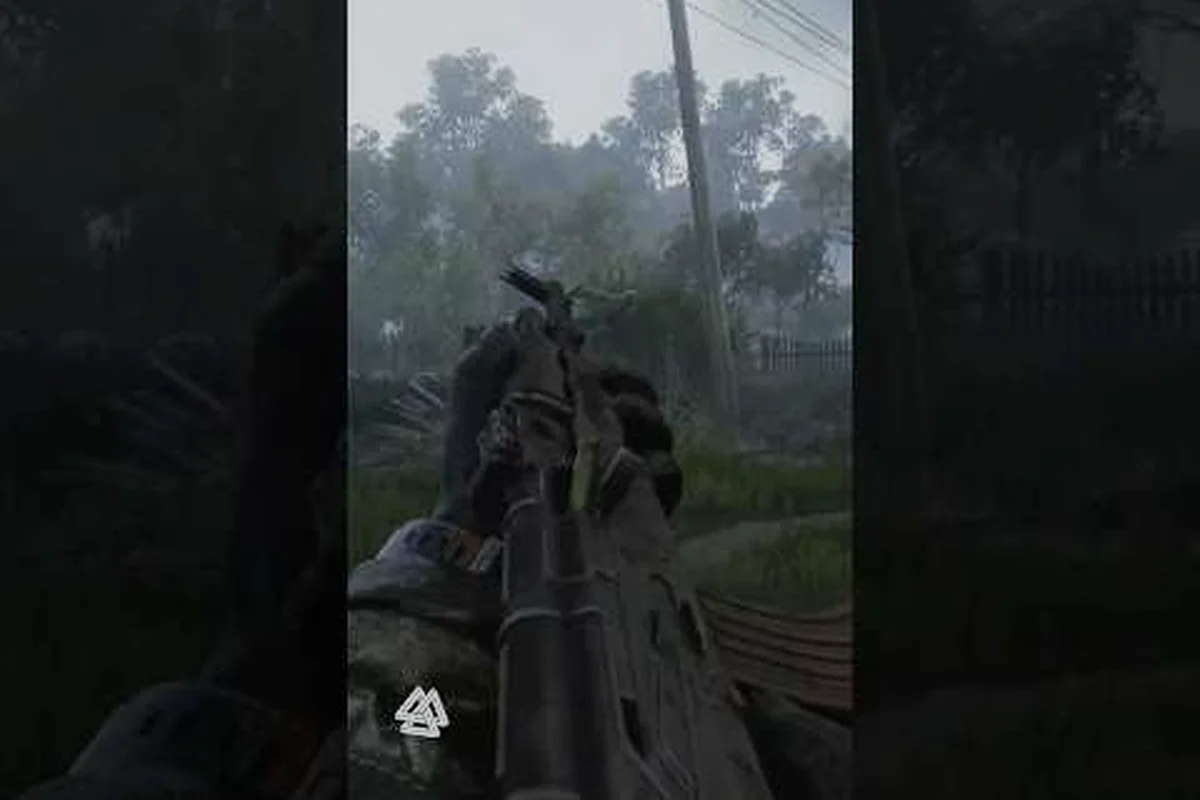
In Active Matter, the difference between a wiped squad and a full extraction often comes down to what you build on site and how clearly your team talks during the push. Learning to craft weapons in raid, pair them with smart duo tactics, and run clean voice chat protocols turns a chaotic PvPvE run into a controlled operation where every firefight favors the prepared.
Why On-Site Crafting Changes Every Active Matter Raid
On-site weapon crafting is one of the most underused mechanics in Active Matter, because most squads walk into a raid already locked into a preset loadout. According to the official Active Matter site, players go in solo or in small squads inside quantum unstable zones, and syndicates fight over control using every weapon, vehicle, and piece of gear they can bring — or craft on site. That single clause is the whole point: the build you walk in with is just a starting point, and the weapon you assemble mid-raid using scavenged parts is what wins the late-game fight.
The 250 Shades of Liberty update expanded the roster dramatically, adding firearms like the RSh-12, MAC-11, P17-V, SCAR-H, M14, M39 EMR, and DP-12, plus melee tools such as the Crowbar, Pry bar, Baseball bat, and Police Flashlight. New gear like the Kamikaze drone and Thermal drone, and mods like the TGP-A Suppressor, Spectrum Scope 1-4x, and C5 Laser Sight mean the parts economy is richer than ever. Crafting on site lets you react to what the map gives you instead of committing to one role from spawn.
The Core Advantage of Building Inside the Raid
| Factor | Pre-Loadout Only | On-Site Crafting |
|---|---|---|
| Adaptability | Low — locked into spawn kit | High — react to loot and enemy kit |
| Resource efficiency | Wastes unused ammo types | Uses only what you scavenge |
| Surprise factor | Predictable to enemy recon | Throws off callouts based on spawn loadouts |
| Risk ceiling | High if countered | Manageable through mod swaps |
| Late-fight power | Peaks early, drops late | Peaks when fights cluster around extract |
The reason this matters is timing. Early raid fights reward burst damage and mobility, while late-raid extraction pushes reward sustained accuracy and control. Crafting in raid bridges that gap because you can build a close-quarters kit for the first half of the run, then swap to a long-range or suppressor build once the loot is in your bag and the real PvP starts. The mechanic rewards players who read the raid flow, not the ones who memorize one loadout.
Active Matter Craft Weapons in Raid: The Parts Economy
Every on-site build in Active Matter runs on three resource layers: raw components dropped by AM-transformed creatures, refined parts produced at the Replicator and Refiner in the Workshop, and mods looted from rare zones. Update 0.4.0.62 moved both the Replicator and Refiner to the Workshop, which means you need to think about what you bring in versus what you plan to refine mid-raid. Quick-access slots were reworked to reference items rather than store them, so weight is no longer a hidden tax on your crafting choices.
The baseline inventory pressure is real: base carry capacity on Body Sleeves was reduced by 100, and the raid list itself was reworked into Raids, Hired Ops, and Faction Battles with a countdown to the next rotation. That means every slot in your bag is contested, and you cannot afford to drag five half-finished weapon kits into a firefight. Plan two builds, bring the parts for one, and scavenge the rest.
Component Tiers and What They Unlock
| Component Tier | Source | Typical Output | Best Use Case |
|---|---|---|---|
| Salvage | AM creatures, pickup trunks | Basic frames, low-tier mags | Early-raid filler weapons |
| Refined | Workshop Refiner | Mid-tier receivers, barrels | Mid-fight swaps |
| Replicated | Workshop Replicator | High-tier chassis, optics mounts | Late-raid PvP loadouts |
| Rare mods | Color-coded resource zones | Suppressors, laser sights, spectrum scopes | Stealth and long-range builds |
A useful rule of thumb is to treat Salvage as your emergency kit, Refined as your mid-fight upgrade, and Replicated as your extract insurance. If you find a color-coded resource zone, drop everything and clear it — those rare mods are what let a duo push a contested extract against a squad that outnumbers them, because a well-suppressed weapon with a laser sight wins the peek-and-shoot race against raw DPS.
For a more complete look at how raids, extractions, and loot flow connect, the Active Matter extraction guide walks through the full loop from spawn to secure loot — including how Refined and Replicated components travel from a Workshop drop straight into your secure pouch, and why staging your best craft before a contested extract (rather than mid-fight) lets your duo or trio clear color-coded resource zones without burning the replicated chassis you saved for the extract push.
Active Matter Duo Tactics: Tight Pair Play
Duo play is where Active Matter feels the sharpest, because two players can move faster than a trio, share loot more efficiently, and split aggro without splitting focus. The problem most duos run into is that they play like two solos who happen to be near each other, which means they double up on the same angles, waste healing, and lose trades they should have won. Active Matter duo tactics are about trading roles every 15-20 seconds so the enemy never knows which of you is the threat.
Role Rotation Blueprint
| Phase | Player A Role | Player B Role | Voice Call |
|---|---|---|---|
| Entry | Flanker, first peek | Trade-killer, second peek | "A peeking, B trade" |
| Trade window | Reposition to off-angle | Hold original angle | "A rotating, B hold" |
| Loot split | Cover, scan for third party | Loot and inventory fast | "B looting, A overwatch" |
| Extract push | Suppressor carrier, first contact | Heavy carrier, second contact | "A first, B second" |
The rotation matters because a duo that holds the same angle for 30 seconds is a duo the enemy has already called out and counter-angled. If you are running a duo and one of you is on the RSh-12 or M14 with a TGP-A Suppressor, you become the entry fragger. The other player, ideally on SCAR-H or DP-12, holds the trade angle and cleans up. After the trade, swap roles before the next push. That single rotation pattern is what separates duos that extract full bags from duos that get third-partied at the extract.
When to Break the Pattern
There are three situations where the standard duo or trio rotation breaks down, and recognizing them is the difference between smart and rigid play: you are too low on healing consumables to sustain a prolonged firefight, your partner is already downed and you are temporarily running solo, or one operator is carrying a high-value rare mod that makes extraction the only sensible objective. In all three cases, your active matter craft weapons — be it the suppressed MAC-11 for close pushes or a mid-range rifle for overwatch — must be re-tasked from map control to pure survival, and any voice comms callouts should immediately switch from rotation pings to "stack on me" or "extract now." Treating these as exceptions rather than edge cases is what separates consistent extractors from raid fodder.
-
You are outnumbered and low on meds. Drop the rotation, stack on the same angle, and burn one push to either extract or reposition. Splitting up when you are weak gets you killed twice instead of once.
-
Your partner is down and you are alone. The duo playbook does not apply. Switch to solo play, favor close-range weapons like the MAC-11 or Crowbar, and prioritize finding a third party to join rather than rezzing in the open.
-
You have a high-value rare mod. One player carries the mod, the other plays pure bodyguard. No role swaps, no splits, no flanks. Extract as a unit.
Active Matter Trio Tactics: Three-Man Pressure
Trio play in Active Matter is the sweet spot for organized squads, because you get enough bodies to hold multiple angles, but not so many that loot gets thin. Active Matter trio tactics revolve around one core idea: one player is the spear, one is the shield, and one is the brain. The spear pushes, the shield holds the trade, and the brain tracks the third party and calls the extract timer.
A useful pre-raid checklist for trios looks like this: every squad member confirms their loadout weight, marks their dedicated Active Matter craft weapons in the raid lobby, and verbally locks in the spear-shield-brain role split so nobody overlaps on the Thermal drone or competes for the same healing stack during the first extract timer.
-
Assign roles before the raid starts, not after the first firefight.
-
Confirm who carries the rare mod and who carries the healing stack.
-
Agree on a fallback extract if the primary is contested.
-
Set a hard timer for when to cut loot and start moving.
The Kamikaze drone and Thermal drone added in 250 Shades of Liberty fit the trio meta perfectly, because one player can run a drone while the other two push. Thermal vision cuts through smoke and dark corners, while the Kamikaze drone can flush a camper out of a room before the trio commits to a push. The trick is that whoever runs the drone is the brain, not the spear — their job is information, not damage.
If you are still learning the basics of raid entry and how the time loop connects to your loadout, the Active Matter first raid walkthrough lays out the foundations before you start running trio sets.
Trio Loadout Distribution
| Slot | Weapon | Mod | Role |
|---|---|---|---|
| Spear | RSh-12 or M14 | C5 Laser Sight, Red Dot | Entry fragger |
| Shield | SCAR-H or DP-12 | TGP-A Suppressor, Extended Mag | Trade and cleanup |
| Brain | M39 EMR or P17-V | Spectrum Scope 1-4x, Suppressor | Overwatch and callouts |
This is a baseline, not a rule. If your squad is pushing a high-density loot zone like the Airport with the plane suspended in the gravity anomaly, you might want two close-range players and one overwatch. If you are pushing a wide open map like Downtown, the M39 EMR with a Spectrum Scope becomes the primary, and the close-range players play bodyguard. The map dictates the meta, not your preset.
Active Matter Comms Guide and Voice Chat Protocols
The single biggest upgrade any squad can make is cleaning up comms. Active Matter comms guide principles are not about talking more, they are about talking less and saying exactly the right thing at the right time. The Active Matter official YouTube channel shows how the developers expect squads to coordinate, and the pattern is the same one good extraction players use in every raid: short, structured, and never overlapping.
The core rule is one speaker at a time. In a firefight, two people talking over each other is worse than one person saying nothing, because the third player has to pick one voice and ignore the other. Set a simple protocol: the spear calls contacts, the shield calls trades, and the brain calls the plan. Everyone else stays quiet until the fight is over or they are directly addressed.
Active Matter Voice Chat Callout Format
| Situation | Callout Format | Example |
|---|---|---|
| Contact spotted | "Contact, [direction], [distance]" | "Contact, north, 30 meters" |
| Enemy type | "[Enemy], [weapon if visible]" | "PMC, SCAR" |
| Trade needed | "Trading, [direction]" | "Trading, north door" |
| Loot found | "Loot, [item], [location]" | "Loot, TGP-A Suppressor, second floor" |
| Third party | "Third party, [direction]" | "Third party, south, pushing us" |
| Extract call | "Extract, [point], go now" | "Extract, primary, go now" |
Keep the format tight. A callout like "I think I saw someone maybe to the left but I'm not sure" is useless — it forces the brain to ask a follow-up question, which costs time, which costs the fight. Either you saw a contact or you did not. If you did, give direction and distance. If you did not, stay quiet until you do.
Channel Discipline and Push Timing
| Phase | Comms State | Allowed Callouts |
|---|---|---|
| Looting | Open chatter, planning allowed | Loot finds, route talk, role swaps |
| Approach | Brief callouts, plan confirmation | Direction of move, hold points |
| Contact | Strict, one speaker | Contact, trade, third party only |
| Post-fight | Triage first, talk second | Loot, med status, reposition |
| Extract push | Brain only | Move orders, extract timer |
One common mistake is treating the comms discipline like a tournament rule rather than a tool. The point is not to silence your squad, it is to make sure the right voice is loudest at the right time. During looting, chatter is fine and even helpful, because that is when the brain plans the next push. The discipline kicks in the moment contact happens, and it relaxes again once the fight is over and you are triaging.
Putting It All Together: A Sample Raid Run
Phase 1 covers the approach: the duo clears trash packs while one player — designated the crafter — banks surplus materials in the staging chest near the boss door. Phase 2 is the build window: the crafter moves to the on-site workbench, opens voice chat on a private channel, and forges the active matter loadout while the partner holds aggro and clears respawning adds. Phase 3 is the swap: the crafter deposits the finished weapons into the shared loot pool, both players re-equip inside the encounter zone, and the boss pull begins with a synchronized burst window tied to the freshly crafted DPS rotation.
Phase 1: Entry and First Craft
Spawn in with your preset loadout, push the nearest color-coded resource zone, and clear it for salvage. The brain — in a duo, this is whoever is on the M39 EMR or P17-V — calls the route and watches for third parties. The spear — on RSh-12 or SCAR-H — clears rooms. Once you have salvage, one player crafts a backup sidearm like the MAC-11 at the Refiner station, while the other holds overwatch with a suppressor-equipped long gun. The whole phase should take under four minutes, and the only comms are route calls and loot finds.
Phase 2: Mid-Raid Upgrade
Once the first zone is cleared, move to the second loot point. Along the way, the brain calls out the rotation: "A peeking, B trade" every time you push a new room. If you find a Spectrum Scope 1-4x or a TGP-A Suppressor, the overwatch player upgrades on site, because the Workshop Replicator and Refiner are no longer the only path to a high-tier mod. The shield player switches to DP-12 if close-quarters density is high, or stays on SCAR-H if the next zone is open.
Phase 3: Extract Push
At the extract timer mark — which shows up clearly because of the 0.4.0.62 raid list rework — the brain calls "Extract, primary, go now." Both players stack on the suppressor carrier, who plays first contact. The heavy carrier holds second contact and covers the rez. If a third party hits, the brain calls "Third party, [direction]" and the duo rotates to trade instead of splitting. Loot is prioritized by extract risk, not by rarity, because a rare mod in a dead player's bag is a rare mod the enemy uses against your next run.
For a broader view of how loadouts and progression tie into the raid loop, the Active Matter progression and base guide covers how to unlock the maps and weapons that feed into these on-site builds.
Frequently Asked Questions
What is the fastest way to start crafting weapons on site in Active Matter?
Head for the nearest color-coded resource zone first, because those drop the rare mods like the TGP-A Suppressor and Spectrum Scope 1-4x that make mid-raid crafts worth running. The Replicator and Refiner moved to the Workshop in update 0.4.0.62, so plan your parts around what you can scavenge and what you can refine.
How should a duo split loot in Active Matter?
Give the rare mod to the player who holds the overwatch angle, and give the healing stack to the player who plays the trade. If both players run a suppressor, neither can play trade effectively, so coordinate the split before the raid starts. Active Matter duo tactics work best when one player is the long gun and the other is the close gun.
Do trios need a dedicated drone operator in Active Matter?
It helps, but it is not required. The Kamikaze drone and Thermal drone added in 250 Shades of Liberty are strongest in a trio because one player can run intel while the other two push. If your trio is tight on comms, the drone operator should be the brain, calling contacts and third parties rather than chasing kills.
What is the best voice chat setup for a small Active Matter squad?
Use a single channel, one speaker at a time, and keep callouts to the format in the table above. Active Matter voice chat rewards short structured calls over long explanations, because the fight is faster than your sentence. The brain should be the only one talking during contact, and the rest of the squad should stay quiet until the trade is done.
Can solo players use on-site crafting in Active Matter?
Yes, but the tradeoff is inventory pressure. Base carry capacity on Body Sleeves was reduced by 100, so solo players should focus on one strong craft rather than three weak ones. A solo player with a suppressed M14 and a backup MAC-11 is more dangerous than a solo player dragging a half-finished SCAR kit and a stack of unfinished mods.