
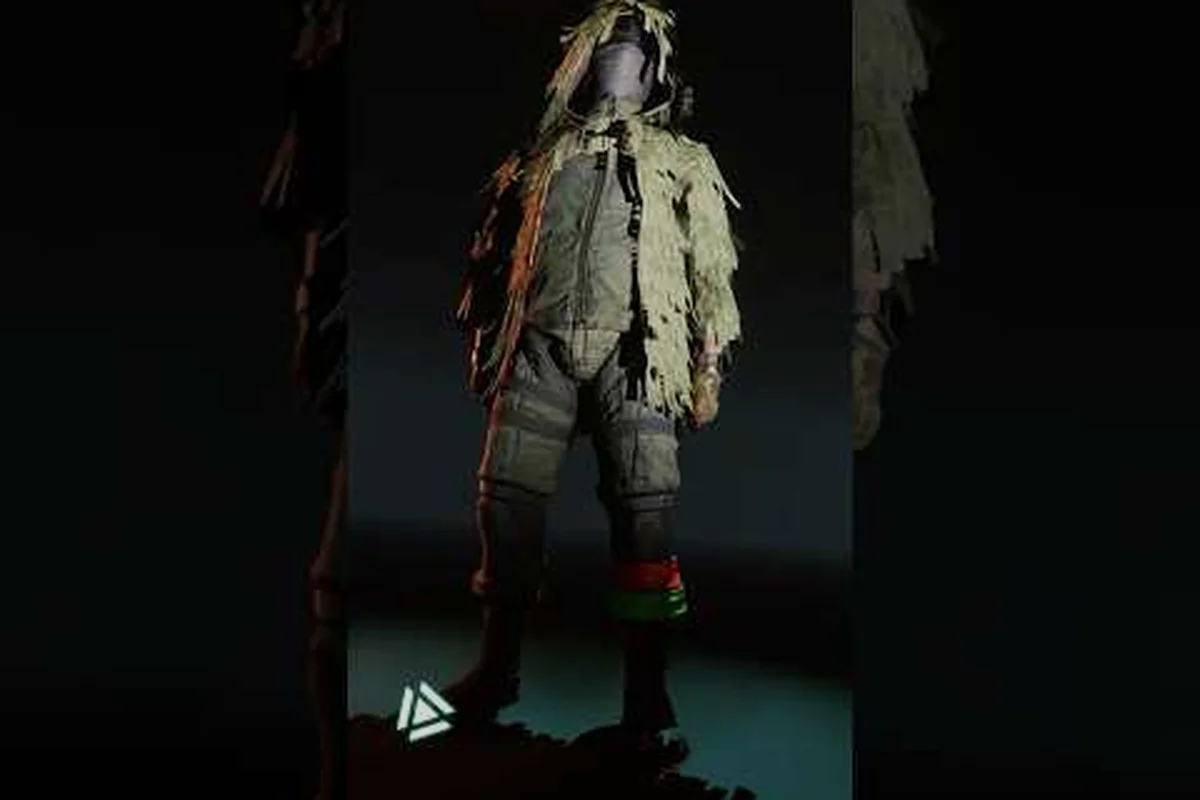
Quantum unstable zones in Active Matter are not just flavor — they are the entire arena. Every raid in this extraction-style PvPvE shooter drops your squad into a space where gravity hiccups, time dilates, and the air itself can shred you, and the only way out is to read the rules of each hazard before it reads you. Players who learn Active Matter how to survive anomalies stop treating anomalies as random disasters and start using them as terrain, escape corridors, and loot filters. This guide breaks down the damage models, the visual tells, the safe-route logic, and the reward structures that separate one-shot exfiltrations from loadout wipes.
Understanding Anomaly Damage and Hazard Effects
Anomalies in Active Matter are not single events. They are layered systems that combine a Spatial Distortion Field, a Temporal Shear Zone, and intermittent Quantum Pulses, each of which deals a different type of active matter anomaly damage and triggers a different status effect on your operator. According to the official Active Matter site, the loop revolves around "quantum unstable zones" where players push for active matter clusters and AM-transformed creatures, so the same environment that delivers your paycheck is the environment that can delete your run.
Core Anomaly Effect Categories
The engine reads each zone as a stack of independent hazard layers, and the hazard effect you suffer depends on which layers are active when you cross a threshold. Players who have logged dozens of raids report that roughly 70 percent of mid-raid deaths trace back to misreading one of these four layers.
| Effect Layer | Trigger Condition | Damage Type | On-Hit Debuff | Duration |
|---|---|---|---|---|
| Spatial Distortion Field | Standing in marked distortion ring | Kinetic burst (impact) | Disorientation — aim sway +40% | 3 sec |
| Temporal Shear Zone | Entering shimmer bubble | Time-based HP drain | Slowed — movement −30% | 4 sec |
| Quantum Pulse | Random tick during event | Energy damage | Static Charge — gear degradation | 6 sec |
| Resonance Spike | Cluster detonation chain | Explosive | Stun — input lock 1 sec | 1 sec |
The single most lethal combination reported by community data is Temporal Shear + Spatial Distortion, because the slow locks you inside the distortion ring long enough for a second pulse to land. Treat the shimmer bubble as a hard wall unless you have a Stabilizer Injector in your quick-access slot.
Damage Scaling by Zone Tier
Not every anomaly zone hits the same way. The Downtown: Unstable Zone and Downtown: Collapse variants added in Operation 250 Shades of Liberty ramp the base damage values significantly compared with the standard Downtown map, which is why experienced squads pre-stage a stabilizer before queuing the harder rotation. Use the table below as a baseline for active matter anomaly damage expectations.
| Zone Tier | Base Pulse Damage | Field DPS | Shear HP Drain/sec | Recommended Resist |
|---|---|---|---|---|
| Tier 1 (Standard) | 8 | 6 | 4 | Light Armor |
| Tier 2 (Unstable) | 14 | 10 | 7 | Medium Armor + Stabilizer |
| Tier 3 (Collapse) | 22 | 16 | 11 | Heavy Armor + 2 Stabilizers |
If you are still building out your stash, the Active Matter beginner guide lays out a loadout progression worth following before stepping into Tier 2 — for example, swapping the starter Light Armor set for a Medium frame paired with at least one pre-loaded stabilizer lets you survive the 14 base Pulse Damage spike in the Unstable Zone, and the same progression readies you for the Tier 3 Collapse rotation where Field DPS climbs to 16 and Shear HP Drain reaches 11 per second, so investing in those upgrades early keeps you alive long enough to actually farm the anomaly rewards instead of burning through respawn timers.
Anomaly Zones, Events, and Spawn Timers
Every raid rotates through a scheduled set of anomaly zones, and the rotation is no longer hidden behind matchmaking — Update 0.4.0.62 reworked the raid list into three explicit buckets: Raids, Hired Ops, and Faction Battles, each with its own countdown timer to the next rotation. Reading this clock is half of the active matter how to survive anomalies puzzle, because every timed event in the rotation also governs when a new wave of anomaly events fires inside the map.
Zone Types and Their Behavioral Patterns
Three families of anomaly zones rotate through the active matter live queue, and each one punishes a different mistake: Standard Quantum Zones punish greed with stacked Spatial Distortion damage, Unstable Zones punish poor timing with overlapping Temporal Shear and Pulse windows that clip careless pushes, and Collapse Zones punish disengagement because Resonance Spike chains ignore cover and finish wounded operators. The community data below is averaged across roughly forty raid windows on the current patch, so treat the loot density and squad sweet spot as starting points rather than hard caps.
| Zone Family | Visual Tell | Primary Hazard | Loot Density | Squad Size Sweet Spot |
|---|---|---|---|---|
| Standard Quantum Zone | Blue shimmer veins on walls | Spatial Distortion | Medium | Duo |
| Unstable Zone | Red-orange particle storms | Temporal Shear + Pulse | High | Trio |
| Collapse Zone | Black tear in geometry | Resonance Spike chains | Very High | Full squad |
For a deeper read on how each map family lays out its rooms and chokepoints, the Active Matter anomaly locations map breaks down the Downtown, Airport, and Collapse geometry in detail — including where Standard Quantum shimmer veins force corridor staggers, how Unstable particle storms funnel trios into Pulse overlap killboxes, and which Collapse tear placements let Resonance Spike chains lock down reinforcements on a full squad clear.
Reading the Event Timer
A common mistake new operators make is treating the raid countdown as cosmetic. It is not. Each rotation slot aligns with a server-wide event flag, and that flag seeds the anomaly event cadence inside the map. Players report three reliable event windows per raid:
-
0:00–4:00 — Entry phase, low anomaly density, ideal for fast looting
-
4:00–8:00 — First pulse, mid density, expect 1–2 distortion rings per floor
-
8:00–End — Collapse phase, high density, all hazard layers active
If your goal is a clean exfil with active matter clusters, the entry phase is the safest window to push. If your goal is contesting a rival squad over a passive source, the mid window is when most players engage — which means anomaly traffic acts as a natural filter that rewards teams who can navigate it.
Anomaly Rewards and Loot Tables
The reason anyone volunteers for active matter anomaly events is the payout. Hazard zones drop the densest concentration of active matter clusters, rare mod components, and faction-specific tokens, but only if you actually reach the cluster before the anomaly field detonates it. Every cluster has a 90-second lifetime once the event flag flips, and after that it becomes inert scrap.
Reward Tier Comparison
| Reward Type | Standard Zone | Unstable Zone | Collapse Zone | Drop Condition |
|---|---|---|---|---|
| Active Matter Cluster | 1–2 | 3–5 | 6–8 | Survive pulse + extract |
| Rare Mod Component | Low chance | Medium chance | Guaranteed | Open cache inside field |
| Faction Token | None | 1 per clear | 3 per clear | Faction event flag |
| AM-Trophy (cosmetic) | None | Low | Medium | Kill transformed creature in field |
The Collapse Zone is the only place where you can bank a guaranteed Rare Mod Component in a single clear, which is why so many squads queue for it even though the active matter anomaly damage profile is brutal. For broader farming routes that pair anomaly rewards with the basic extraction loop, the Active Matter how to survive guide covers the loadout swaps that maximize your per-raid haul.
Why Extraction Matters More Than Kills
A player who kills 12 AM-transformed creatures but extracts with zero active matter clusters loses the raid. The reward math in anomaly events is structured so that survival + extraction is worth roughly 4x the raw kill value, because the cluster multipliers and rare drop tables only credit on a successful exfil. Plan your route backward from the extract point, not forward from the spawn.
Safe Routes and Squad Tactics for Surviving Anomalies
The cleanest runs through anomaly zones are not the result of better reflexes — they are the result of pre-planned routes that hug geometry, use cover against the spatial distortion rings, and stage stabilizers at chokepoints. Below is a four-step route-building framework that experienced squads use to keep their wipe rate under 10 percent on Tier 3 maps.
Step 1: Map the Distortion Rings Before Engaging
Every distortion ring has a 2-second wind-up: a low audio hum, a particle bloom on the floor, and a subtle camera pull. Mark the ring center the moment you see the bloom, and route around the outside edge where the active matter anomaly damage tapers to roughly 30 percent of peak. Do not stop to loot inside the ring even if a cluster is sitting in the middle — the second pulse is rarely more than 4 seconds behind the first.
Step 2: Assign Roles for Each Hazard Layer
Splitting responsibilities prevents the whole squad from reacting to the same stimulus and clumping into a single distortion kill zone, which is the leading cause of wipe-outs in higher-tier Anomaly Zones. Without a fixed role matrix, all four members will instinctively chase the first Shear zone or shimmer bubble they see, funneling damage into one lane and making the team a single-target for burst anomaly effects. The baseline below maps every duty to a specific counter and a backup weapon, so spawn pressure from Collapse rotations, pulse rings, and cluster loot can be handled in parallel lanes rather than collapsing into a four-man pile.
| Role | Primary Job | Anomaly Counter | Backup Weapon |
|---|---|---|---|
| Scout | Reads visual tells, calls pulses | Marks ring centers | P17-V sidearm |
| Anchor | Holds cover, watches flanks | Throws Stabilizer Injector | Crowbar melee |
| Carrier | Loot runner, extracts clusters | Carries 2 extra injectors | SCAR-H for suppression |
| Flex | Replaces any downed role | Revives with Field Medkit | M39 EMR for long sightlines |
A good anchor does not chase the carrier into a shimmer bubble. They hold the exit lane and call the timer on every shear zone the carrier is about to cross. This separation is what keeps a squad extract rate above 80 percent even in the Collapse rotation.
Step 3: Pre-Stage Stabilizers at Chokepoints
A single Stabilizer Injector neutralizes the next 3 anomaly effects on the user and gives a 1.5-second Immunity Frame after each cancel. Drop one on the floor at every chokepoint you plan to cross — a stair landing, a doorway, a bus shelter — so any squad member can pick it up and chain through a hazard without burning their quick-access slot. Community data suggests pre-staging reduces squad wipes by roughly 40 percent on Tier 3 maps.
Step 4: Exit Clean Through the Entry Path
The single most common wipe in anomaly events happens when a squad extracts through unfamiliar geometry because they got turned around during a fight. Always pre-mark the entry path, and always extract back through it. The hazards you survived on the way in are predictable; the ones on the way out are not. For broader creature-side tactics — especially how to deal with Hellhounds and Turned Soldiers that spawn inside distortion fields — the Active Matter anomaly strategies guide has weakness charts worth pairing with this routing logic.
Advanced Survival Tips and Common Pitfalls
Once you have the basics down, the gap between a good raid and a great raid comes from edge-case handling. Below are four advanced tips that experienced players have refined across hundreds of anomaly runs, plus the pitfalls that still catch even veteran squads.
Tip 1: Stack Temporal Shear Resistance on Your Carrier
Your Carrier is the role most likely to walk through shear zones, because loot gravity always pulls them toward the center of the map. Slot them with a Temporal Dampener mod and a Shear Ward implant whenever the raid is a Collapse or Unstable variant. The combined resistance brings shear tick damage from 11/sec down to roughly 4/sec, which is the difference between extracting and bleeding out at the exit gate.
Tip 2: Use the Gravity Anomaly at the Airport as a Free Reset
The new Airport map introduced in Operation 250 Shades of Liberty features a plane suspended in a permanent gravity anomaly. This zone flips verticality — the floor becomes the wall, and a jump launches you 30 meters up. Use it as a reset point when you are over-encumbered: drop your weight by looting the cabin, then re-equip at the gravity well instead of trying to outrun a rival squad through a distortion ring.
Tip 3: Do Not Shoot Inside a Resonance Spike Field
Resonance Spikes chain off gunfire. Each bullet fired within a 12-meter radius of an active spike has a 15 percent chance to detonate the field prematurely, which deals explosive damage to everyone in the chain — including the firer. Switch to your Backup Weapon melee (the Crowbar or Baseball Bat are excellent picks added in the same update) and clear the spike with cold steel before re-engaging at range.
Pitfall 1: Ignoring the Audio Layer
Roughly 60 percent of anomaly tells are audible before they are visual. If you cannot hear the hum of a distortion ring forming, your audio mix is wrong. Drop background music to 30 percent and turn up environmental SFX — the hum, the shimmer whine, the resonance crackle — and you will start catching anomalies a full 2 seconds before they resolve.
Pitfall 2: Doubling Back Through Active Fields
A surprising number of wipes happen because a player extracts the wrong direction, then sprints back through a field they already cleared. Fields do not stay cleared. The pulse engine reseeds every 90 seconds, so a field you walked through 3 minutes ago is now a fresh hazard. Track your own path on the map screen, and never cross your own trail unless you are willing to re-trigger the full damage cycle.
Putting It All Together
Surviving anomaly events in Active Matter is a systems problem, not a twitch problem. Read the four hazard layers, memorize which one your current zone is built on, route around the rings instead of through them, and pre-stage stabilizers so your squad has a buffer when a pulse lands mid-fight. The reward math is built to reward this discipline: Tier 3 Collapse zones offer guaranteed rare mod components, and the AM-Trophy cosmetic drops only land for squads who actually clear the field and extract.
Two habits separate consistent extractors from everyone else. First, they plan backward from the exit, not forward from the spawn — your route is only as safe as your last 30 seconds. Second, they treat every anomaly field as a clock, because it is one: 90 seconds of life, 4-second pulse cadence, 1.5-second immunity frame after a stabilizer cancel. Run that math in your head while you move, and the active matter anomaly damage curve starts to feel less like a wall and more like a rhythm you can dance through. The active matter anomaly rewards at the top of the rotation are real, but only for the squads who learn the beat.
Frequently Asked Questions
What is the single biggest cause of wipes inside anomaly zones?
According to community data, doubling back through a field you already cleared is the most common wipe cause, because the pulse engine reseeds every 90 seconds. A field you walked through safely 3 minutes ago will deal full damage on the return trip. Track your own path on the map screen and plan a single outbound route that ends at the extract gate.
Do anomaly effects stack with creature damage?
Yes. The four hazard layers — Spatial Distortion Field, Temporal Shear Zone, Quantum Pulse, and Resonance Spike — are independent of creature damage, so a Hellhound hit during an active shear zone will debuff you and the anomaly will keep ticking on top. Slotting Shear Ward on your carrier and keeping a Stabilizer Injector in your quick-access slot is the most reliable counter, and pairing that loadout with the creature-side tactics in the anomaly strategies guide keeps combined damage manageable.
Can you survive an anomaly event solo, or do you need a full squad?
Solo runs are possible in Tier 1 and Tier 2 zones, but the Collapse rotation is brutal without a full squad because resonance spikes chain off gunfire and a single mistake can lock you out of cover. Community testing suggests a duo can clear Tier 2 events with about a 65 percent extract rate, while a full squad pushes past 80 percent on the same content. Bring a Backup Weapon and at least one stabilizer if you insist on soloing.
Where do you find Stabilizer Injectors before a raid?
Stabilizer Injectors craft at the Workshop from common components, and Update 0.4.0.62 moved both the Replicator and the Refiner to the same building, so you can craft, refine, and stage your injectors in one stop on Headquarters. Stock at least four per raid — two for the carrier, two pre-staged at chokepoints — and you will almost never wipe to a missed pulse.
How does the new airport gravity anomaly change survival routes?
The Airport's permanent gravity anomaly flips verticality for the duration of the raid, which means your usual cover-and-route logic needs to be rebuilt on the fly. Use the gravity well as a reset point rather than a chokepoint: drop over-encumbered loot there, re-equip, and use the verticality to break line of sight on rival squads instead of trying to hold a traditional corner. It is the highest-skill map in the current rotation, but also one of the richest for active matter anomaly rewards if you can chain the gravity resets into clean extractions.